A few people have already posted about the new ‘Send an HTTP Request’ action and all the possibilities that it opens up for workflows in Power Automate. This action is basically a passport that allows you to access any of the APIs that your account has rights to - and not just Raiser's Edge!
But that power comes with a price – the HTTP action is not as easy to use as most of the other actions. However, everything you need to know to set up your HTTP request is included in the SKY API documentation, and it's not as hard as you might think.
I’m going to try to take you through the process of gathering the information you need from the SKY API documentation and putting it into your flow.
First of all, you can find the SKY API documentation here. The Power Platform connectors have so far only provided access to Raiser's Edge data, but the HTTP Request action can access any of these APIs. For our examples, let's try making some calls to Financial Edge.
First, we have to find our endpoint. I click on Financial Edge, and then go to the Accounts Payable section, and then click on Endpoint Reference. Then I can look through the list of endpoints to find the one I’m looking for.
To make a request, I will need to know these things:
- The method
- The request URL
- Whether there are any request parameters
- If I am creating or updating information, I need to know how to structure that information in the request body
- The response schema
Method
The method is right at the top of the page, and you can also see it on the list on the left-hand side as well. SKY API uses four different methods.
- Get requests are requests for information about something
- Delete requests are requests to delete something
- Post requests are requests to create something
- Patch requests are requests to update something

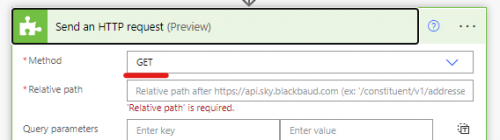
Looks like this is a Get request, so I set my HTTP action accordingly:
Request URL
Next, I need the Request URL. That can also be found near the top of the endpoint documentation page.

There are a few things you need to know about the request URL.
- The first part of the URL (https://api.sky.blackbaud.com) is added automatically by the connector, so we don't need to copy that.
- The URL may have curly brackets {like_this} or square brackets [like_this] around parts of it. These are request parameters, and we’ll talk more about them in a minute. For now, just be aware that they mean that you might need to add some data (like a record id) at that point in the URL.
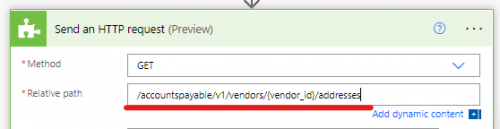
I copy the relevant part of the URL into my HTTP action:
Request Parameters
Request parameters are pieces of information that you include in your request to let SKY API know what you want. A classic example of this is the ID. If you want to see an address, you need to pass the address ID as a request parameter so that SKY API knows which address to send you.
Another example would be filters. If you are requesting a list of invoices, you may be able to narrow your list by providing a date range, invoice status, etc.
Let’s look at a simple example first. This request URL has a vendor ID request parameter in middle of the URL. The curly brackets let you know that it’s required, and if you weren’t sure, you can check the Request parameters area of the documentation page to see that it is required and read a little description about what it is.

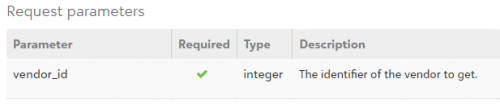
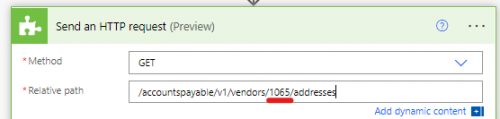
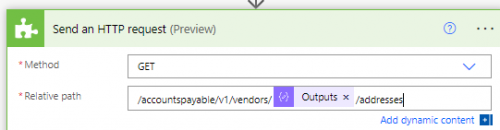
When you paste this request URL into your flow, you will have to replace those brackets with an ID, either by typing it in or by using dynamic content from another action.
Next, let's look at a different example. This request URL looks a lot more complicated, with all the parameters at the end:

But everything in square brackets is optional, so you can ignore anything you don’t want to use. Check the Request parameters section of the documentation to see what each of these parameters does.
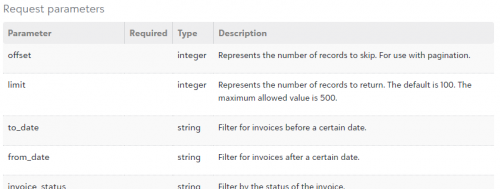
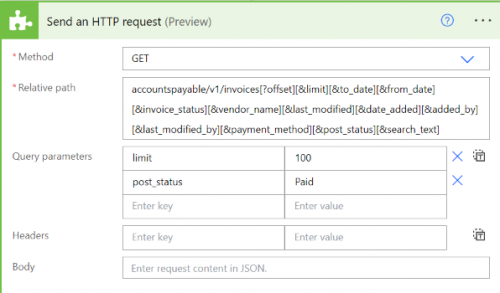
In our example, let’s use the ‘limit’ parameter to limit our list size to 100, and ‘post_status’ to only return invoices that have been paid. Because these request parameters come at the end of the URL, I can put them into my HTTP action like this:
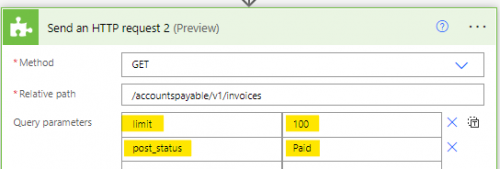
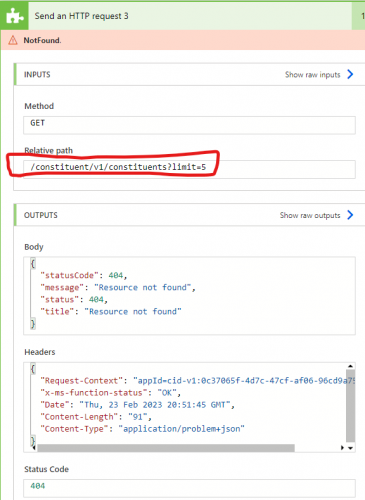
But it would be exactly the same request if I put them right in the URL like this:
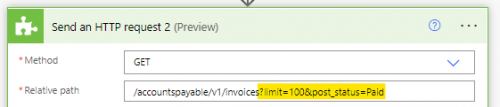
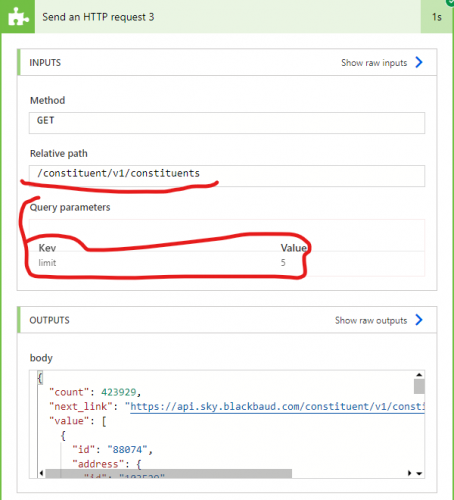
Either way will work, so use whichever is easiest for you.
Request Body
So far we’ve only talked about getting data. But if you want to create or edit data, you need a way to send that data to Blackbaud. This is where the Request body comes in. Post and Patch requests have a Body area where you can send the data you want to create/edit. But you have to send the data exactly how Blackbaud is expecting it, or it won’t work.
SKY API documentation has a Request body area that tells you what information you can send and which elements are required.
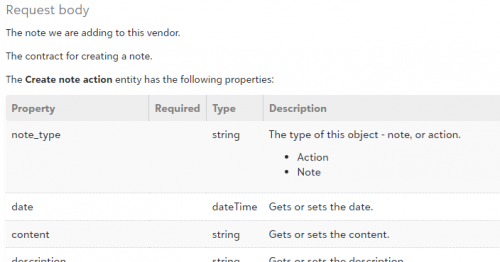
In addition to this, they also helpfully include an example request body, so you can see how the data is supposed to be organized. You can copy this schema right into your HTTP action and then replace the default values with your values – either by typing them in, or by using dynamic content.
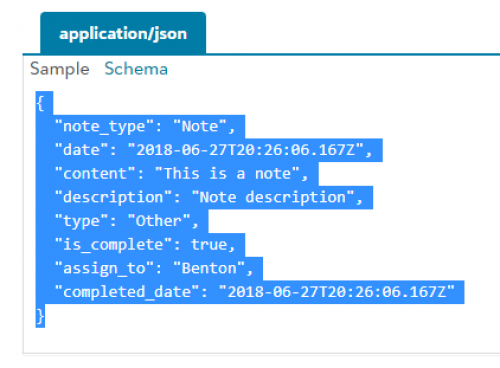
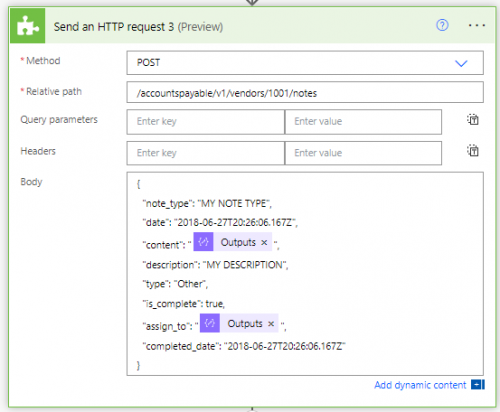
If you don't need to add one of these properties, you can just delete that line. Just be sure that each property line ends with a comma, except the last one.
There’s lots of room for error here. If you put a comma in the wrong place or use quotation marks where you’re not supposed to, the call will fail. But a failed call doesn’t mess anything up, so you can just look through your request body carefully and try again.
Response schema
So now you have your call set up and when you test it, it’s working perfectly! But when you try to use the data it returned later in your flow, you can’t find it in the dynamic content. This is where the response schema comes in.
Because the HTTP action is so flexible, Power Automate has no idea what it’s going to return, so it can’t add the data to the list of dynamic content like it does for other actions. If you want to use this data later in your flow, you will have to either use expressions, or use a Parse JSON action.
Expressions are beyond the scope of this already quite lengthy post, so I’ll focus on how to use Parse JSON.
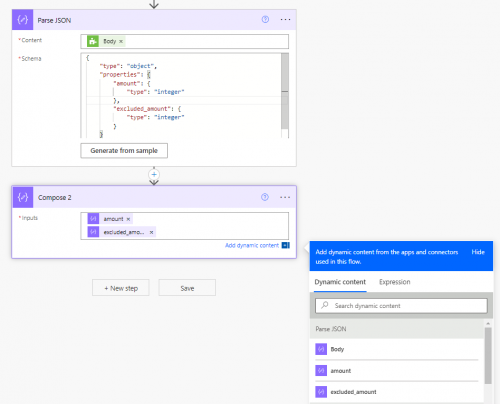
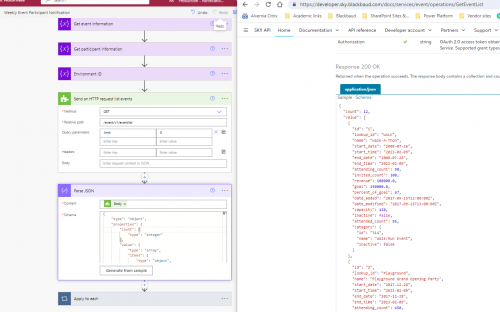
Add a Parse JSON action after your HTTP action and set the Content to point to the Body of your HTTP request.
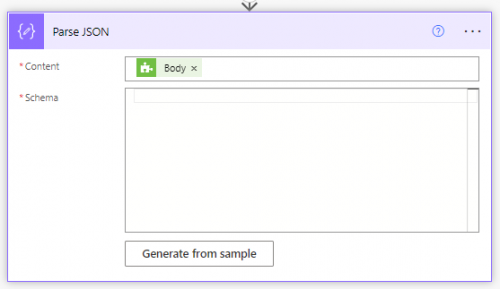
Setting the schema is easy because Blackbaud provides the schema in their documentation. Look for the area called ‘Response 200 OK’ and copy everything in the sample schema box. I chose the Invoice 1099 amount endpoint because the response schema is simple – most endpoints return more data than this.
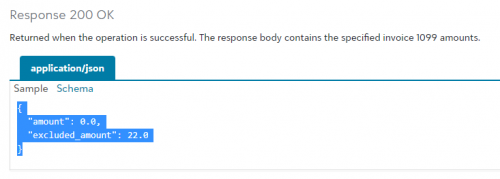
Once you have it copied, go back to your flow and click ‘Generate from sample’, and then paste the schema in there.
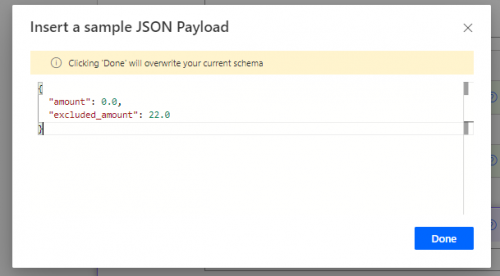
Now you can access the data in the dynamic content list. You’re done!