All you system admins, this post's for you! One of your major tasks is to get everyone at your organization into
Raiser's Edge NXT. In
Control Panel,
Security, you can invite people to use
Raiser's Edge NXT and specify which features they should access in the web view. You can also quickly view who hasn't yet confirmed their invitations, re-invite users, and even disconnect them from the web view if necessary.
 Get users in.
 In
Control Panel, users added through the database view — or a previous
Raiser's Edge 7 installation — automatically appear. To get one of these people into
Raiser's Edge NXT, simply select
Send invitation from their menu in the
Users or
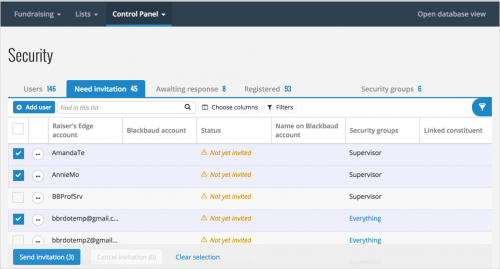
Need invitation list and enter the email address where they should receive their invitation. Or, to invite multiple users from the database view, select their checkboxes, select
Send invitation, and enter their email addresses! When they confirm their email invitations, they'll be assigned the same security groups as in the database view.
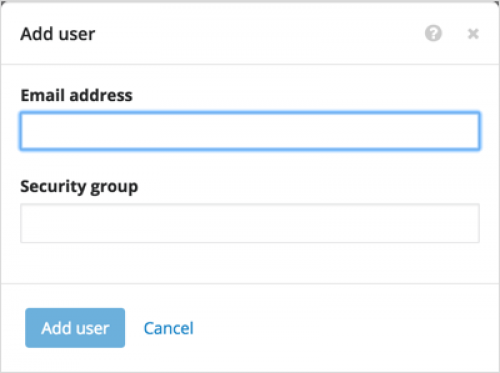
To get completely new people — who aren't already in the database view — into
Raiser's Edge NXT, simply select
Add user, enter their email address, choose which security groups they should be a part of, and select
Add user. When they confirm their invitations, these users will be assigned the security groups you chose for them. (Speaking of...)
Just what are "security groups"? To specify which features and records a user can access, you assign them to security groups. In the database view, you can add security groups and specify which features and record types their members have rights to (or are restricted from). In
Control Panel, you can view these groups in the
Security groups lists in
Security. In this list, you can view how many members each group has and whether they have rights to access
Control Panel.
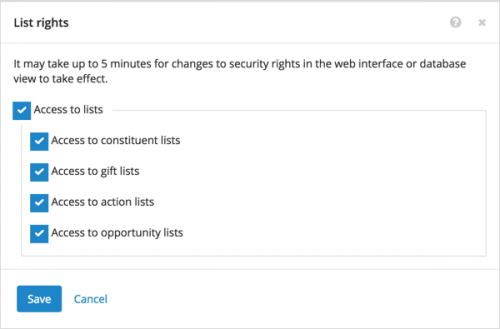
For detailed information about the members of a security group, select its name to open its record. On the record, you can also manage the members' rights to web view features such as
Work Center,
Lists, and
Analyze. For example, for each security group, you can select whether its members should use the
Lists feature in the web view and — within there — which types of lists.
Manage invitations and accounts. In
Control Panel, you can also manage your active users and sent invitations. To ease this,
Security breaks down users into lists based on their invitation status.
- Need to quickly identify who's in the database view but not the web view and email them invitations? Use the Need invitation list.
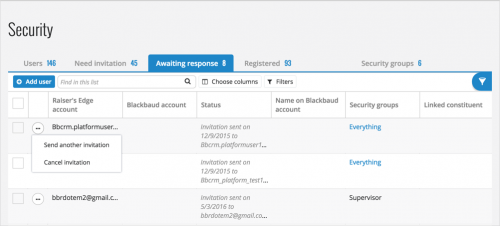 Need to follow up on sent invitations? Use the Awaiting response list. From here, you can send someone another invitation (in case their previous one expired) or cancel their invitation (like if you accidentally sent one to the wrong person or chose the wrong security group).
- Need to view who's in the web view or disconnect an account? Use the Registered list.
For more information, see the
Security Help.