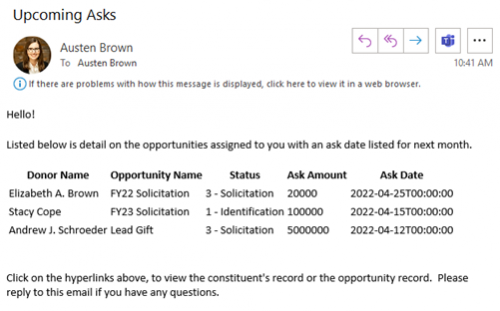
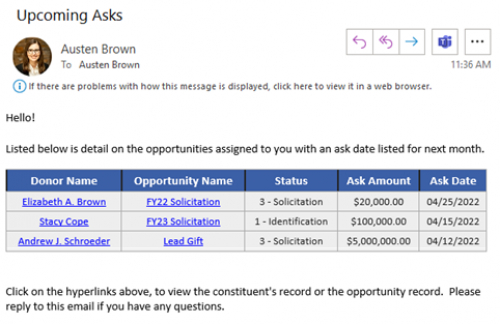
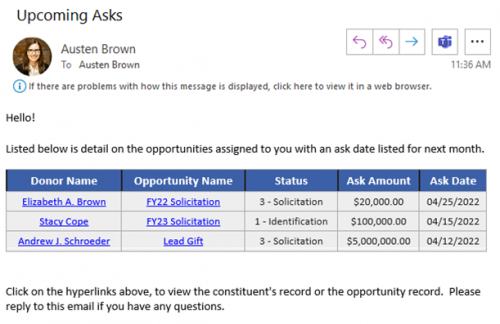
Notifications through a Power Automate flow are a great way to let your front-end users know about new additions, upcoming actions, or areas they should pay attention to. With a few additional steps, you can improve the digest tables within your notifications flow. Transform the look from a simple table (as in the “before” image) to a richer experience that provides clearly structured information and links that let users access data directly (see the “after” image). Here are four ways to spruce up your notification tables:
- Add Hyperlinks
- Format Amounts
- Format Dates
- Add Style and Color
BEFORE
AFTER
Open your favorite notification flow and follow along! I used the Upcoming Opportunity Notification Flow available within the Template Showcase.
1. Add Hyperlinks
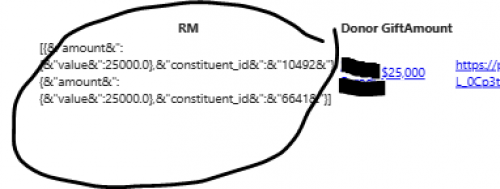
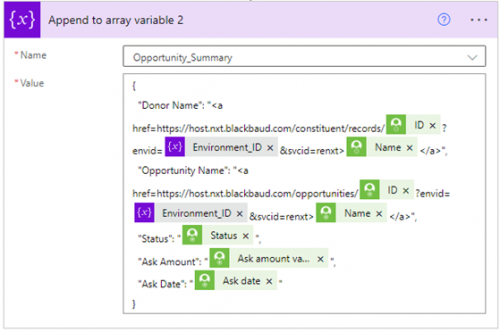
To make it easy for the recipients of your notification digests to access records referenced in the table, add dynamic hyperlinks to your append array variable. Simply note the URL for a specific record type when accessing it through Web View. Use this format for a constituent record URL:
https://host.nxt.blackbaud.com/constituent/records/[Constituent System ID]?envid=[Environment ID]&svcid=renxt
Using available dynamic content available through your Power Automate flow, and a pre-set string variable for Environment ID, set-up a <a> href HTML attribute to create the dynamic hyperlink/s within your notification table. Check out the screenshot below for how you can update your Append to array variable action with this addition.
Updated Append Array Variable with HTML Hyperlinks Added
2. Format Amounts
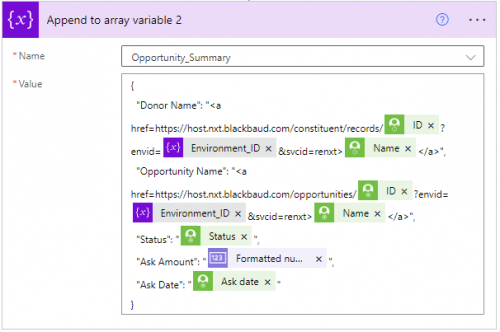
There is a free action within Power Automate that can format dynamic amount values called “Format number”. Simply add this action above where you need a formatted number to appear; place your dynamic amount value in the “Number” field and select your preferred formatting from the drop-down provided. In the append array variable action, replace your previously listed “amount value” with the output of the Format number action.
Updated Append Array Variable with Format Number Output Added
3. Format Dates
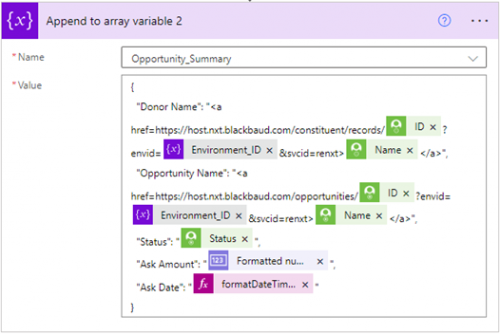
Use an expression (the second tab within your dynamic content window) to enter in a specific function to standardize how dates appear within the digest table. This makes them much more legible to notification recipients and easier to understand.
The function “formatDateTime” lets you update a static or dynamic date within your flow. See the instructions below to use this function with dynamic content:
- Remove your dynamic date from the append array variable and place your cursor within the available spot.
- Go to the dynamic content window, and select the Expression tab.
- Start typing out “formatDateTime” in the available space and enter an open parenthesis directly after the function text.
- Place your cursor between the parenthesis and select the dynamic date field from the “Dynamic Content” tab.
- Next place your cursor directly before the final close parenthesis and add “, ‘MM/dd/yyyy’” Your final function should look like this:
formatDateTime(outputs(‘[Dynamic Field]’)?['body/ask_date'], 'MM/dd/yyyy')
- Finally, confirm that your cursor has remained in the final spot you want your date to appear within your append array variable, and click “OK.”
Updated Append Array Variable with Format Date Expression Added
4. Add Style and Color
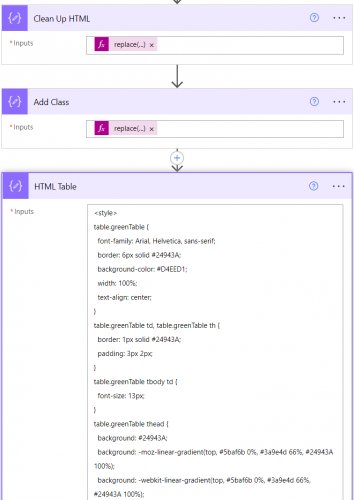
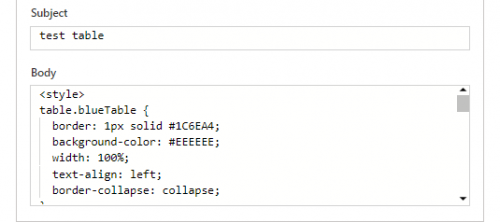
Using a free tool to generate CSS for a HTML table along with a Compose action, lets you add style and color to your HTML table. Think of all the possibilities! I like to style my tables according to my Org’s branding guidelines for fonts and colors. Here is how to do it!
- Follow the link above and customize a template with the various elements of how you want your HTML table to appear in the notification. When you are happy with the results, copy the generated CSS code.
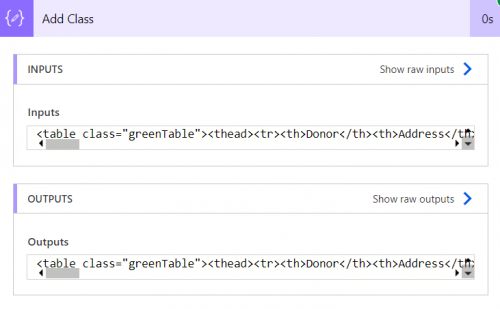
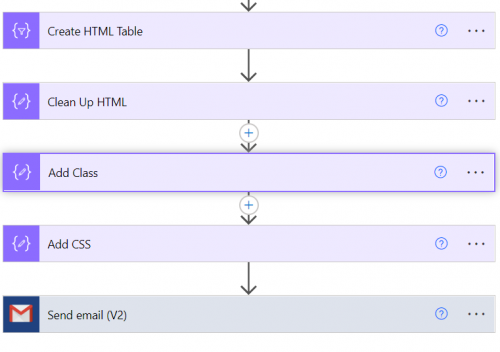
- Back in your flow, add a Compose action after the action above your Send an email action. Within the Inputs of the Compose enter in the following:
<style>
[Copied CSS Code]
</style>
[Output from the Data Operation action directly above]
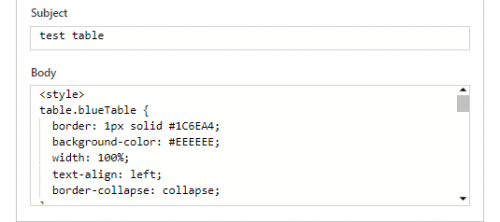
- Finally, replace the Output listed within your Email Notification to be the Output from the step to inject CSS into your HTML table.
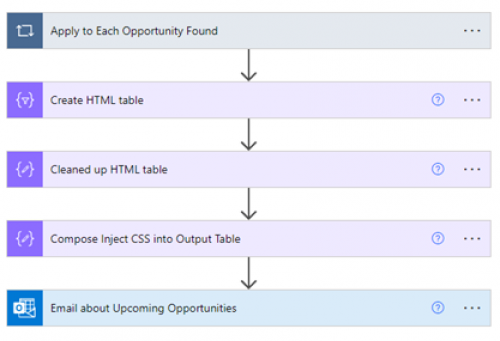
Here's the Result!
Stacy Cope and I will be presenting a series of three Skills Labs at Blackbaud Developers’ Conference June 7-9, 2022! Our sessions are designed to help beginners get started using Microsoft Power Automate with Blackbaud Raiser’s Edge NXT. You’ll learn how to set up creative and useful custom workflows that save you time and enhance your work. Register today! We hope to see you there!
Check out our earlier posts for more information on how to get started with Power Automate, how Power Automate can help your organization, and how to utilize System Record IDs to bring dynamic content into your flow!